
Is there a Big Walk map with GPS?
No minimap or quest arrow. You orient with colored towers, shoreline shapes, and — after red tower — the map room paper map and compass.

Big Walk map guide: no GPS minimap, island scale, paper map after red tower, colored tower landmarks, binocular scouts, and flare regroup habits when lost.
The Big Walk map is one large island without GPS — colored towers, ridges, and beaches define the route. This first-look exploration shows how groups orient when the squad splits on the open ridge.
~10 min read
Sponsored
The Big Walk map is one hand-crafted coastal island — no minimap GPS, no quest arrow, sparse signposts, and strong colored towers you can see from most beaches. House House and Panic expect groups to orient with landmarks, a foldable paper map after the red tower chain, compass headings, and scout tools from the tools guide. This Big Walk map guide covers scale, routing habits, and regroup drills when the squad splits on the open ridge. Verified August 16, 2026 · Steam.
| Fact | Detail |
|---|---|
| Minimap / GPS | None — exploration is intentional |
| Primary landmarks | Colored towers · bridges · train · ski lift · tunnels |
| Paper map unlock | Red tower → map room building |
| Compass | Heading reference — pairs with tower silhouettes |
| Scout tools | Binoculars · laser pointer · flare · megaphone |
| Island inspiration | Coastal national-park terrain (Wilsons Promontory–style) |
| Typical main route | Roughly 8–20 hours — see walkthrough |
| Players | 2–12 players · invite friends · no random matchmaking |
No — Big Walk deliberately omits a corner minimap, compass rose overlay, and "walk here" quest marker. The Big Walk map experience is closer to hiking with friends: you remember a red tower silhouette, argue about which beach you landed on, and eventually earn a paper chart in the map room. That absence is why communication tools and landmark vocabulary matter as much as puzzle solutions.
| What other games give you | What Big Walk gives instead |
|---|---|
| Minimap dot | Colored tower visible on horizon |
| Quest arrow | Red gourd count toward active tower — see towers guide |
| Travel shortcuts | Train, ski lift, and tunnels after tower unlocks (not a teleport menu) |
| Auto-map fog reveal | Map room 3D chart + manual exploration |
| Waypoint ping | Flare, laser, megaphone, walkie regroup calls |
| GPS distance readout | Binocular scout describing ridges by shape + color |
House House wants groups talking while lost, not silently following a UI arrow. Proximity voice, gesture relays, and scout roles from the communication guide replace HUD wayfinding. If your squad expects Skyrim markers, set expectations on the beginner guide before anyone leaves the tutorial beach.
After multiple colored towers, the island teaches a network — map room, ski lift, train loop, tunnels — as infrastructure shortcuts, not a teleport / fast-travel menu. Ride each new link once as a group; those tours are the closest thing Big Walk has to an automated route planner.
Paper tools arrive with the red tower chain — how they work in practice is next.
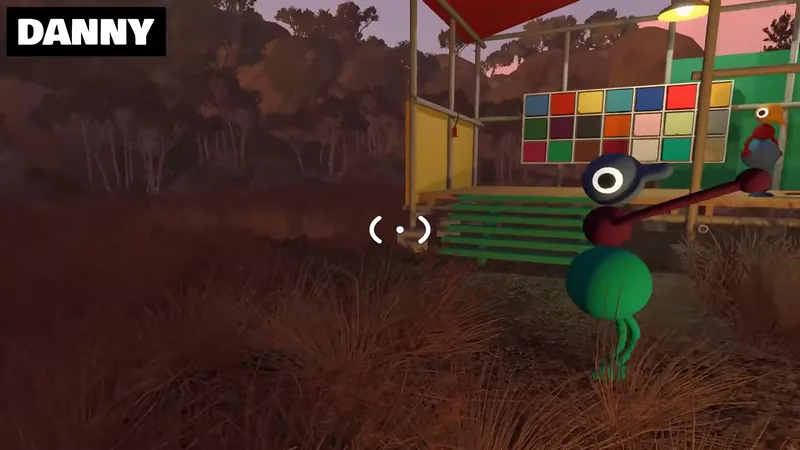
The foldable paper map and compass are navigation items, not puzzle keys by themselves. You receive them after the red tower unlocks the map room — a large blue building with a 3D island model and pocket map pickup. Until then, orient purely by tower colors, bridge shapes, and shoreline curves.
| Tool | What it shows | Best practice |
|---|---|---|
| Map room 3D model | Whole island relief, major POIs, gourd progress dots | Brief the squad together — assign a navigator role |
| Foldable pocket map | Portable copy of the same chart | Navigator carries; others call landmarks verbally |
| Compass | Heading (N/E/S/W) relative to your feet | Pair with visible tower color — "red tower east" |
| Binoculars | Distant ridge detail the map flatten | Scout confirms before the party commits to a descent |
| Laser pointer | Marks a map room feature for remote friends | Useful when six players crowd the 3D model |
When the map room opens, stop the hike for five minutes. Unfold the Big Walk map together, mark mentally which tower color is active, and note gourd clusters near your plateau. Groups that skip the briefing repeat the same wrong valley twice. Full red-tower context lives on the towers guide; this page covers how to *read* the chart.
Beaches on the island can look alike in fog or sunset lighting. The compass answers "are we walking toward or away from the red ridge?" when voices argue. Combine heading with a visible tower — never with guesswork alone. Item details and carry slots: tools and items.
Tower silhouettes remain the backbone even after you own paper tools.
Colored towers — red, green, blue, yellow — are the tallest Big Walk map landmarks. You can see the next color from the last ridge in most weather, which makes towers better compass needles than any UI widget would be.
| Tower color | Navigation role | Infrastructure reminder |
|---|---|---|
| Red | First main-island goal · map room anchor | Unfold pocket map here — changes everything |
| Green | Vertical landmark · ski lift cables visible | Ride lift once to learn yellow ridge approach |
| Blue | Train whistle audible near stations | Slow loop — good for duos who drifted apart |
| Yellow | Tunnel mouths with color-coded signs | Underground regroup when surface fog lies |
| Tutorial / black beats | Bridge and late-game radio landmarks | See walkthrough spoiler-light phases |
The first bridge after tutorial, crosswalk chains near the map room, and distinctive coves on the Big Walk map coastline give secondary fixes when towers hide behind weather. Screenshots help between sessions — the game will not save a custom waypoint for you.
Recommended progress order and unlock perks are on the towers guide and walkthrough. From a map perspective, red first is non-negotiable for literacy; after that, flex green/blue/yellow based on hiking mood — the island remains one connected space.
When landmarks fail — fog, night lighting, or split squads — use the regroup drill below.
Matched by build plan, shared topics, and guide progression — not random related links.
Getting mildly lost is a feature. Staying lost for twenty minutes because nobody wants to fire a flare is optional. Use this recovery table before anyone opens a bug report.
| Situation | First action | Second action |
|---|---|---|
| One player missing | Flare from lost player · walkie ping if equipped | Regroup at last cleared tower base |
| Whole squad wrong valley | Climb to highest nearby point · binocular scan | Match shoreline to pocket map or map room memory |
| Split duo cannot hear | Walkie check · megaphone on open ground | Meet at agreed tower color — not "where we started" |
| Tunnel exit confusion | Read color-coded sign at mouth · follow tunnel paint | Backtrack to last lit junction as a clump |
| After optional ridge detour | Confirm active tower gourd count — maybe you are "lost" on purpose | Open puzzles type guide if a room stalled |
| Host switched saves | Verify same island progress — parallel saves feel like getting lost | See multiplayer guide host rules |
Agree on a regroup landmark whenever the party splits: "red tower base", "map room steps", "train platform two". Big Walk map recovery fails when five people pick five different landmarks. Flares exist precisely for canyon splits — use them early, not after ten minutes of shouting.
Tower consoles that refuse keys often mean missing red gourds nearby, not that your map reading failed. Sweep the local color plateau before crossing the island. If the console accepts gourds but infrastructure stays locked, you skipped a cutter step — back to the towers guide.
Scouts prevent most lost episodes before they start — next section.
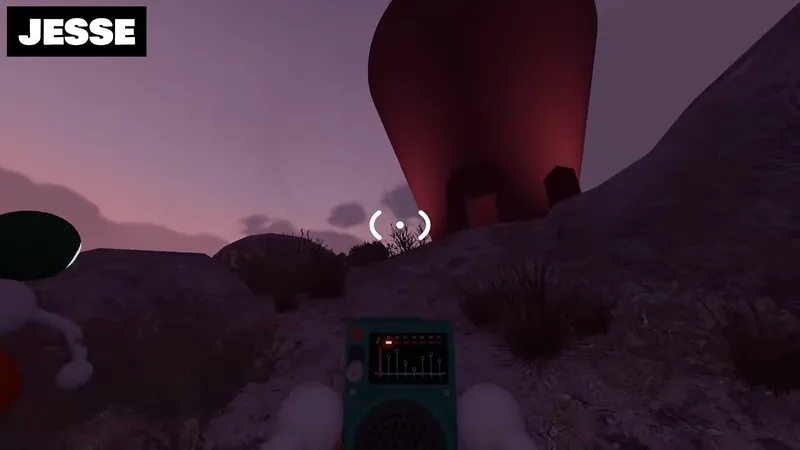
The best Big Walk map players rarely stare at paper — they put one friend on a ridge with binoculars and a laser pointer, turning that player into an air-traffic controller for everyone below. This beats any future interactive map tool for live co-op because it forces clear words.
| Scout call element | Example phrasing | Why it works |
|---|---|---|
| Shape | "Yellow arch left of the red ridge" | Visual anchor without minimap |
| Heading | "Descend east toward the train whistle" | Compass + audio landmark |
| Danger | "Cliff drop on your right — hug the wall" | Prevents valley wipes |
| Goal | "Gourd building with blue roof at the creek" | Links map to puzzle goal |
| Regroup | "Flare at my laser dot in ten seconds" | Sync before plate rooms |
Scouts who sprint ahead without calls leave the party blind again. The loop is: scout sees → scout calls → party moves → scout repositions. Big Walk map literacy stays a group skill even when one player has better optics.
Scale questions — how long hikes take across the full island — are answered below.
Search interest around Big Walk map size and route reflects a real question: how much ground does one campaign cover? The island is large enough to spread 8–20 hour co-op campaigns across multiple evenings, but compact enough that colored towers stay visible from most ridges — you are never in an infinite procedural desert.
| Map question | Answer (verified launch week) |
|---|---|
| Single continuous island? | Yes — one handcrafted space, not chapter loads |
| On-foot crossing feel | Multi-session; groups rarely sprint corner-to-corner in one sitting |
| Vertical range | Beaches to high ridges · ski lift adds z-axis shortcuts |
| Underground layer | Yellow tunnel network connects distant tower neighborhoods |
| Shortcuts | Train (slow), ski lift, tunnels — unlock via towers |
| Optional vs main route | Side ridges and paint studios add hours; towers mark the spine |
| Interactive web map on this site | Planned tool — use this guide + in-game map room until live |
Plan routes by tower phase, not by drawing a straight line on a wiki screenshot. A sensible Big Walk map route for week one: tutorial → first bridge → red tower + map room → cluster nearby gourds → pick green or blue based on squad energy → save yellow tunnels for when flashlights and coordination are warmed up. Milestone detail: walkthrough.
Duos feel the island as big because relays require backtracking. Groups of eight feel it as manageable because scouts and parallel puzzle roles cover ground faster. World version (2 / 3 / 4+) adjusts puzzle footprints more than it changes map geography — the same towers stand on the same ridges.
No minimap or quest arrow. You orient with colored towers, shoreline shapes, and — after red tower — the map room paper map and compass.
One large handcrafted island — expect 8–20 hours on the main route split across sessions, longer for optional ridges and achievements.
After the red tower chain unlocks the map room building. Until then, use visible towers and the beginner guide landmark tips.
Colored towers — red, green, blue, yellow — visible from most beaches. Pair with compass heading when two silhouettes align.
Flare regroup → last cleared tower → map room briefing → binocular scout → check if you need gourds instead of a new route.
This site plans an interactive map tool — not live yet. Use the in-game map room and this guide until then.
Gourd locations appear on the map room chart after red tower. Stuck progress often means a nearby puzzle room, not wrong coordinates.
Follow milestone order on the walkthrough and per-color unlocks on the towers guide.
August 16, 2026
Matched by build plan, shared topics, and guide progression — not random related links.